Wait Node
The Wait Node is your tool for controlling perfect timing in your workflows. Sometimes the best communication is the one that arrives at the right moment, and this node lets you create exactly those moments.
What Is the Wait Node?
The Wait Node pauses the execution of your workflow for a specific period of time. It’s like scheduling an appointment with your subscribers: instead of sending everything at once, you can strategically space messages to maximize impact.
Imagine you’ve just sent a welcome email. Do you want to send the next message immediately? Probably not. With the Wait Node, you can wait 24 hours, give the subscriber time to explore your product, and then send a reminder or the next step.

Types of Wait
Time-Based Wait
The most common type of wait is time-based. You simply define how long you want to wait before continuing to the next step in the workflow.
You can choose between different units:
- Minutes: Perfect for short delays. Useful when you want to space messages within the same day or create brief pauses between actions.
- Hours: Ideal for same-day reminders or to give subscribers time to complete actions before sending the next message.
- Days: The most common option for onboarding sequences, re-engagement flows, or any workflow that requires time between communications.
For example, in an onboarding sequence you might send a welcome email, wait 1 day, send a push notification reminder, wait 3 more days, and then send an email highlighting advanced features.
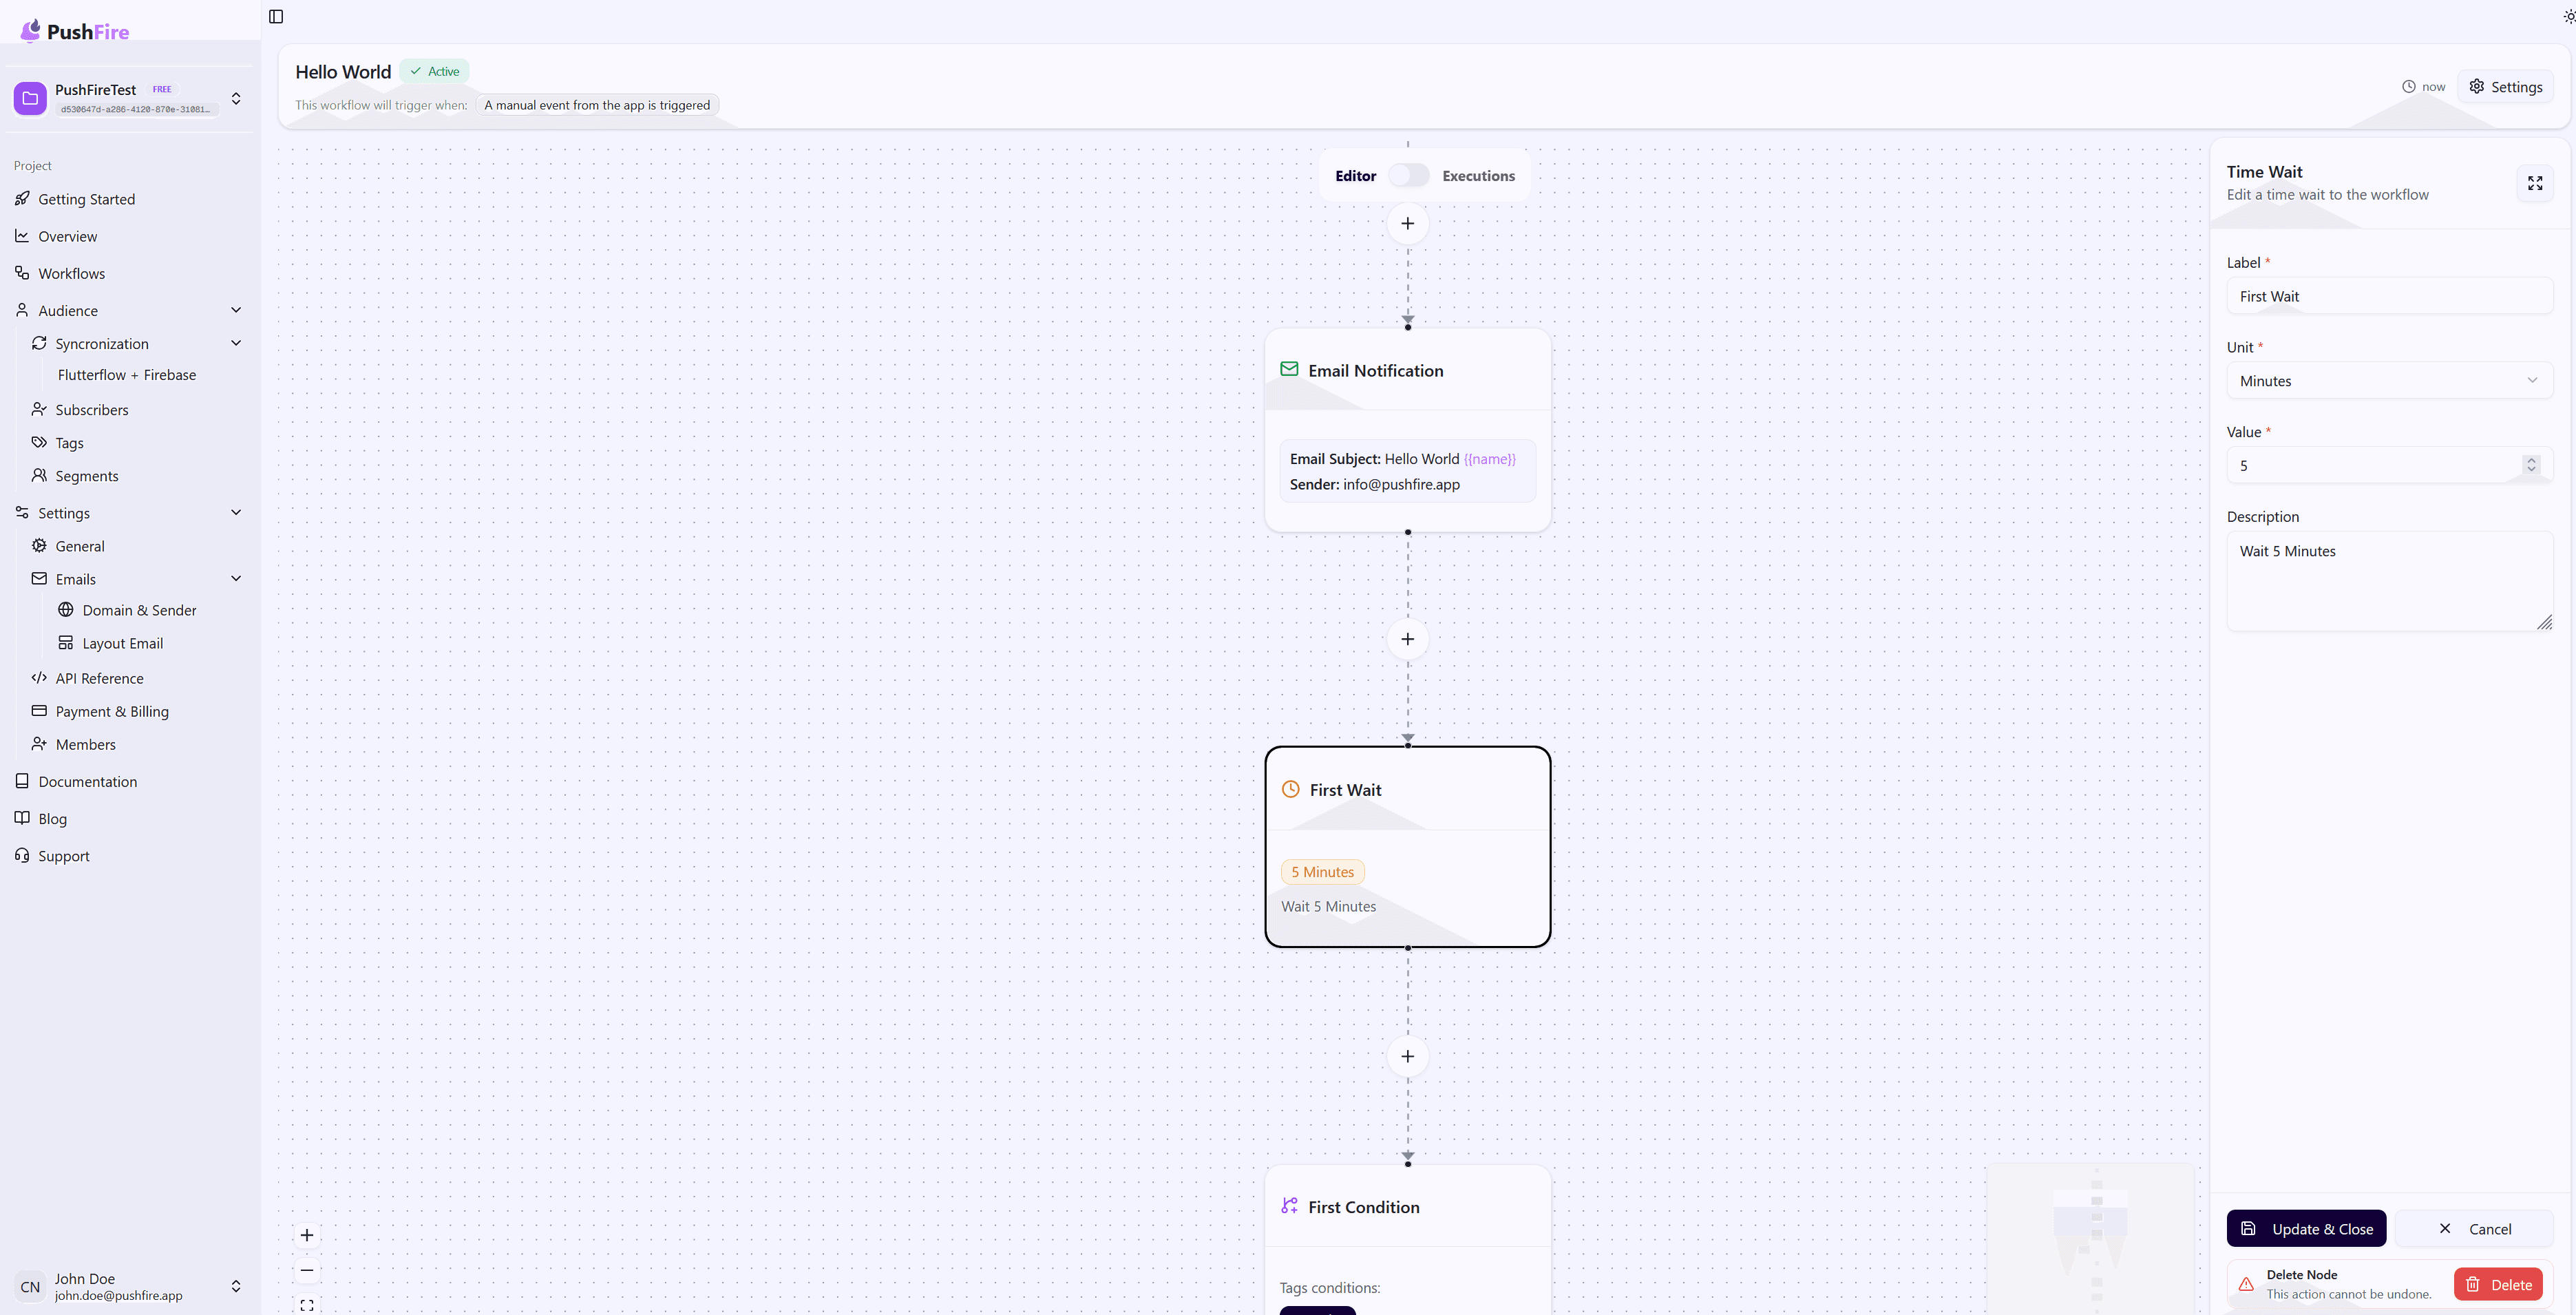
Configuring Your Wait Node
Basic Configuration
Each Wait Node requires a descriptive label. Use names that clearly explain why you’re waiting. For example, “Wait 24 hours after welcome” is much clearer than simply “Wait 1”.
Time-Based Wait Settings
Select the time unit that best fits your use case, then enter the numeric value. Keep in mind that the minimum value is 1, so you can’t create waits shorter than 1 minute, 1 hour, or 1 day, depending on the unit.
Optional Description
Although optional, it’s always a good practice to add a description explaining the purpose of the wait. This helps your team understand the workflow logic and makes future maintenance easier.
Common Use Cases
Onboarding Sequences
Create an onboarding experience that respects the subscriber’s time. Send a welcome message, wait a day for exploration, send a reminder, wait a few more days, and then continue with educational content.
Staggered Reminders
When sending reminders for pending payments or required actions, use waits to build a progressive sequence. Start with a gentle reminder after a few days, and if there’s no response, send more urgent reminders with shorter waits.
Smart Re-engagement
Identify inactive subscribers and send them a series of spaced messages. Wait between each message to give them opportunities to re-engage before sending the next one.
Event-Driven Workflows
Use tag-based waits to create workflows that react to changes in subscriber state. Wait until a subscriber completes a specific action before moving on to the next step.
Best Practices
Consider Time Zones
Waits are calculated from the moment the workflow reaches the node. If you’re sending global communications, keep in mind that a 24-hour wait may result in messages being sent at inconvenient times in different time zones.
Don’t Overuse Waits
While waits are useful, too many long waits can make a workflow lose relevance. If you need to wait weeks, consider whether a single workflow is appropriate or if multiple smaller workflows would be a better fit.
Use Waits to Improve Engagement
Studies show that spacing communications improves engagement. Instead of overwhelming subscribers with multiple messages in a single day, use waits to create a smoother, more pleasant experience.
Document Your Logic
Always add descriptions to your Wait Nodes. Explain why you’re waiting for a specific duration or condition. This makes your workflows easier to maintain and understand.
Troubleshooting
If your workflow seems to be waiting indefinitely, double-check the wait configuration. For time-based waits, verify that both the value and unit are correct. For tag-based waits, make sure the conditions are correct and that subscribers can actually meet them.
Remember that tag-based waits can last indefinitely if the conditions are never met. Consider adding a timeout or an alternative path when necessary.