Senders Configuration
Senders are the specific email addresses that appear as the “From” address in the emails you send through PushFire. They represent your brand’s email identity: each sender is a different face of your communication, allowing you to use different addresses for different purposes.
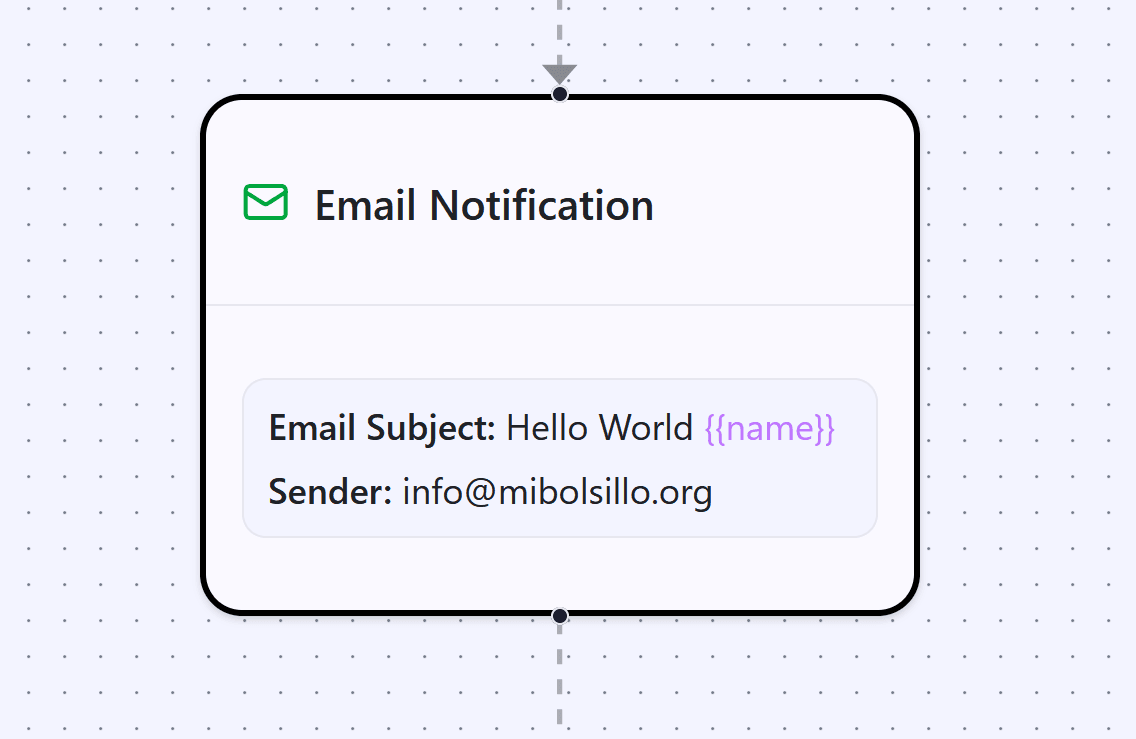
What Is a Sender?
A sender is simply an email address associated with your verified domain. When you configure an Email Notification Node, you choose which sender to use, and that address will appear in the “From” field of all emails sent from that node.
For example, if your domain is updates.yourdomain.com, you could create senders such as:
- hello@updates.yourdomain.com for general communications
- support@updates.yourdomain.com for technical support
- noreply@updates.yourdomain.com for automated notifications
- notifications@updates.yourdomain.com for alerts and updates
Each of these senders can have its own purpose and personality, helping you organize your communications and set clear expectations with your users.
Why Multiple Senders Are Useful
Having multiple senders allows you to build a more organized and professional communication structure:
Purpose Separation: Different types of communications can come from different addresses. Users know what to expect when they receive an email from support@ versus one from hello@.
Reply Management: If you configure senders that can receive replies, you can route responses to the appropriate teams. An email from support@ can go directly to your support team.
Consistent Branding: All your senders use your verified domain, which reinforces your brand and increases trust.
Flexibility: You can change which sender you use for different workflows without having to reconfigure your entire system.
Requirements to Create a Sender
Before you can create a sender, you need:
Verified Domain: Your domain must be fully verified. You cannot create senders until the domain verification process is complete and the status is “verified”.
Matching Domain: The sender’s email address must belong to the domain you verified. You cannot create a sender using an address from a different domain.
Valid Format: The address must be a valid email format, with a local part (before the @) and a domain (after the @).
Creating Your First Sender
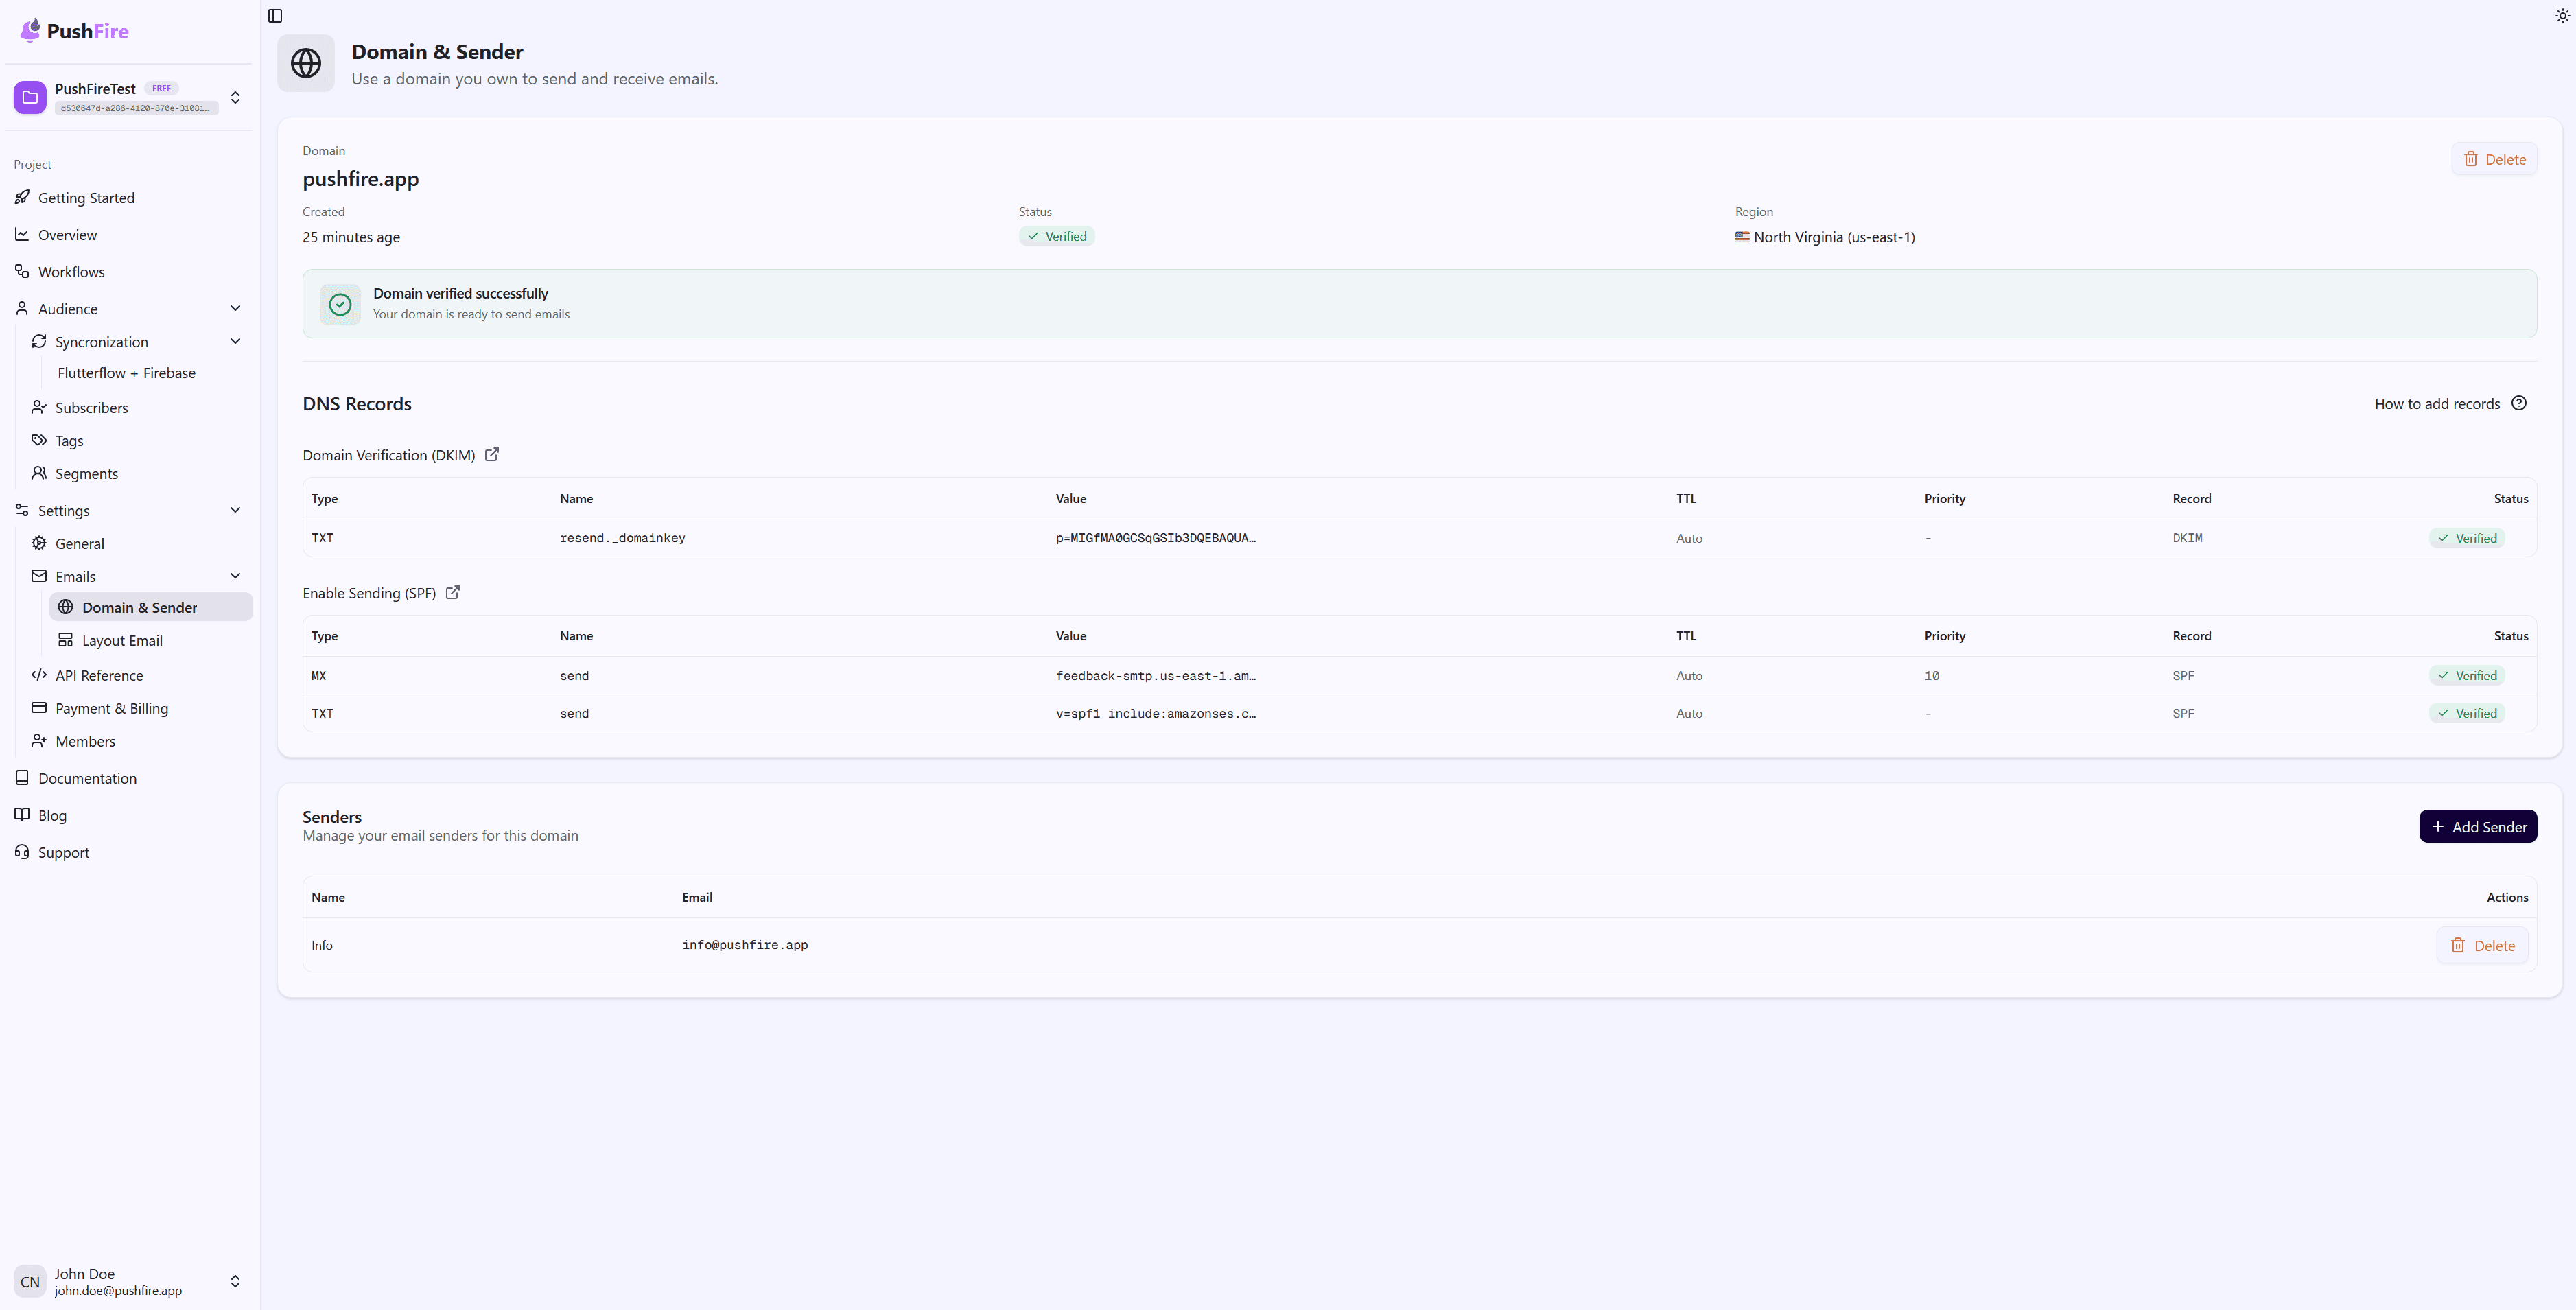
Step 1: Access the Settings
Navigate to the email settings section in your project. From there, go to the Domain & Sender section. If your domain is verified, you will see a section to manage senders.
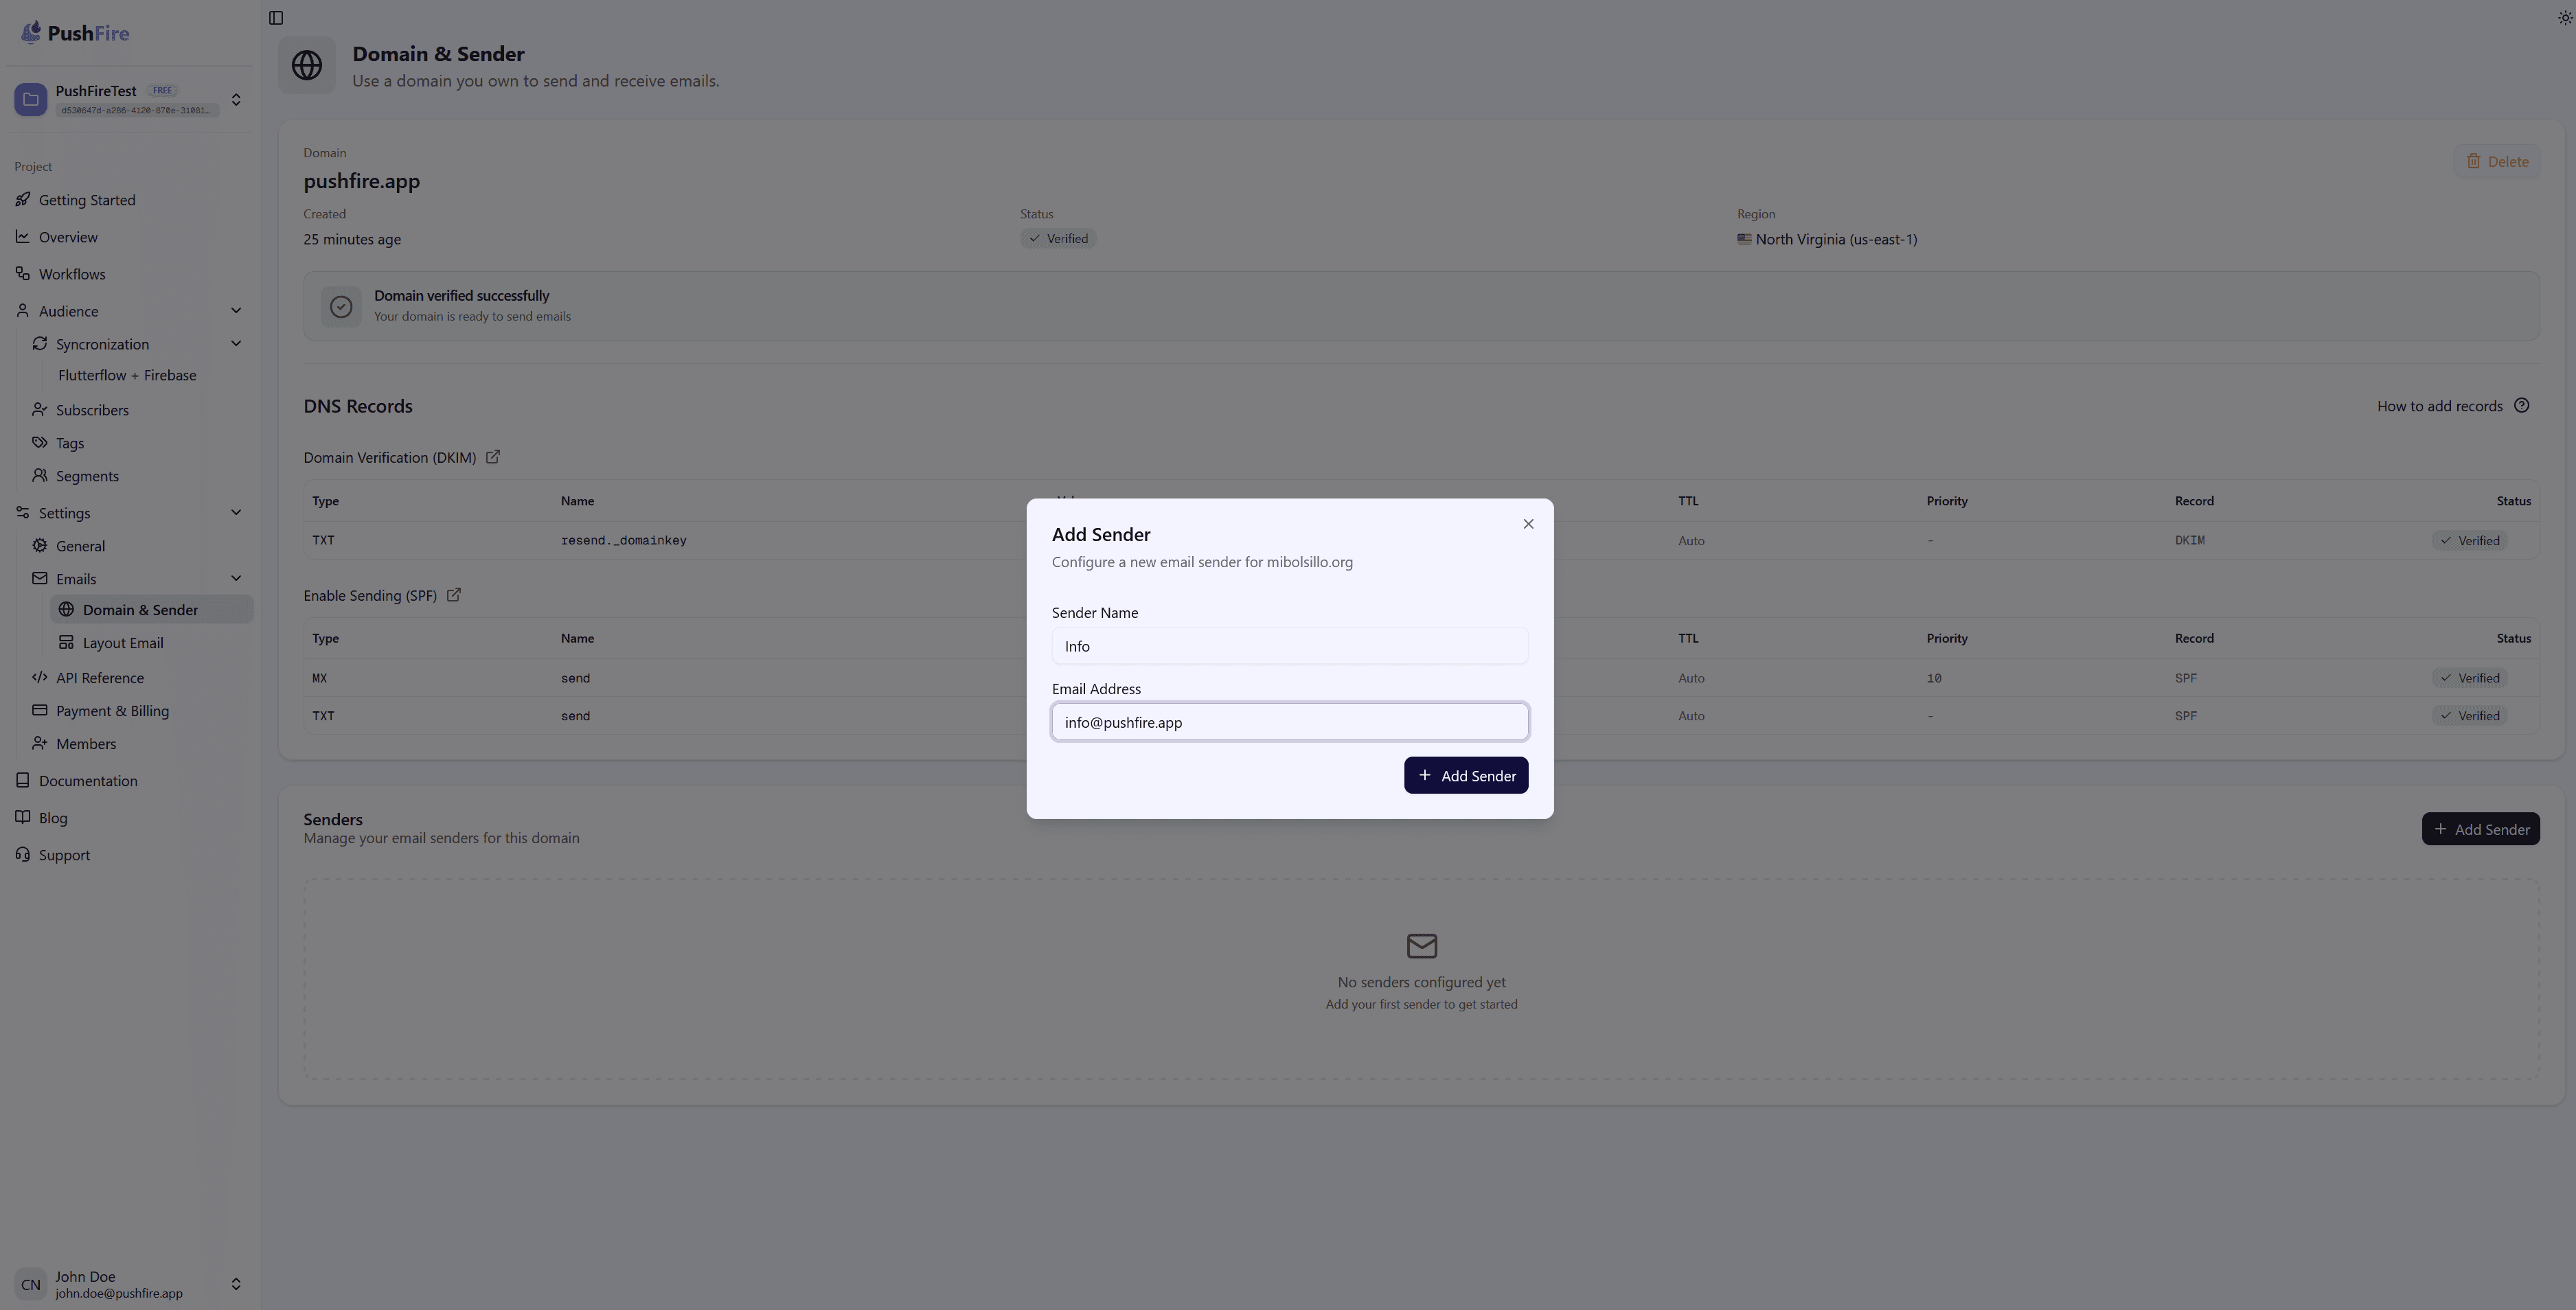
Step 2: Add a New Sender
Click the button to add a new sender. A form will open where you can enter the sender’s information.
Step 3: Configure the Sender Name
The sender name is a descriptive identifier that helps you remember the purpose of this sender. It does not appear in the emails, but it is useful when selecting senders in Email Nodes.
Use clear and descriptive names, for example:
- “Support Team” for support@
- “System Notifications” for noreply@
- “General Communications” for hello@
Step 4: Configure the Email Address
Enter the full email address you want to use as the sender. This address must belong to your verified domain.
Common conventions include:
- hello@ or hi@ for general and friendly communications
- support@ for customer support
- noreply@ for automated notifications where replies are not expected
- notifications@ for alerts and updates
- info@ for general information
Step 5: Save the Sender
Once you have entered the name and address, save the sender. The system will validate that the address belongs to your verified domain and that it has a valid format.
Automatic Validations
When you create a sender, PushFire performs several automatic validations:
- Domain Verification: Confirms that the address belongs to a verified domain in your project.
- Email Format: Checks that the address has a valid email format.
- Uniqueness: Ensures there is no other sender with the same address within the same domain.
If any of these validations fail, you will receive an error message explaining what needs to be fixed.
Managing Your Senders
Once you have created senders, you can manage them from the same section:
- View the List: See all the senders you have created for each domain.
- Delete Senders: If you no longer need a sender, you can delete it. Be careful: any Email Node using that sender will stop working until you select a different sender.
- Select in Email Nodes: When configuring an Email Notification Node, you can choose which sender to use from the list of available senders.
Best Practices
Use Descriptive Names
The sender name should make its purpose obvious. This makes it easier to select the correct sender when configuring Email Nodes.
Consider User Expectations
Users develop expectations about what kind of content comes from each address. An email from support@ is typically expected to be about support, while one from hello@ is more general.
Don’t Overdo It
You don’t need a sender for every small purpose. A few well-thought-out senders are better than many overlapping ones.
Keep It Consistent
If you use support@ for support-related workflows, use it consistently across other support workflows. This helps users recognize and trust your communications.
Think About Replies
If you create a sender like support@, consider whether you want users to be able to reply to those emails. Some senders, like noreply@, are designed not to receive replies, while others, like support@, usually do.
Troubleshooting
If you can’t create a sender, check that:
- Your domain is fully verified (status “verified”)
- The email address belongs exactly to the verified domain
- The address format is valid (it must include an @ and a domain)
If a sender does not appear in the list when selecting it in an Email Node, check that:
- The sender is active and has not been deleted
- The sender’s domain is verified
- You have permission to use senders in workflows
Next Steps
Once you have at least one sender configured, you can start using the Email Notification Node in your workflows. You may also want to configure a custom layout to give your emails a more professional look that aligns with your brand.