Email Notification Node
The Email Notification Node is your tool for creating professional, personalized, and effective email communications. In a world where email remains one of the most reliable and effective communication channels, this node allows you to fully leverage its power within your automated workflows.
What Is the Email Notification Node?
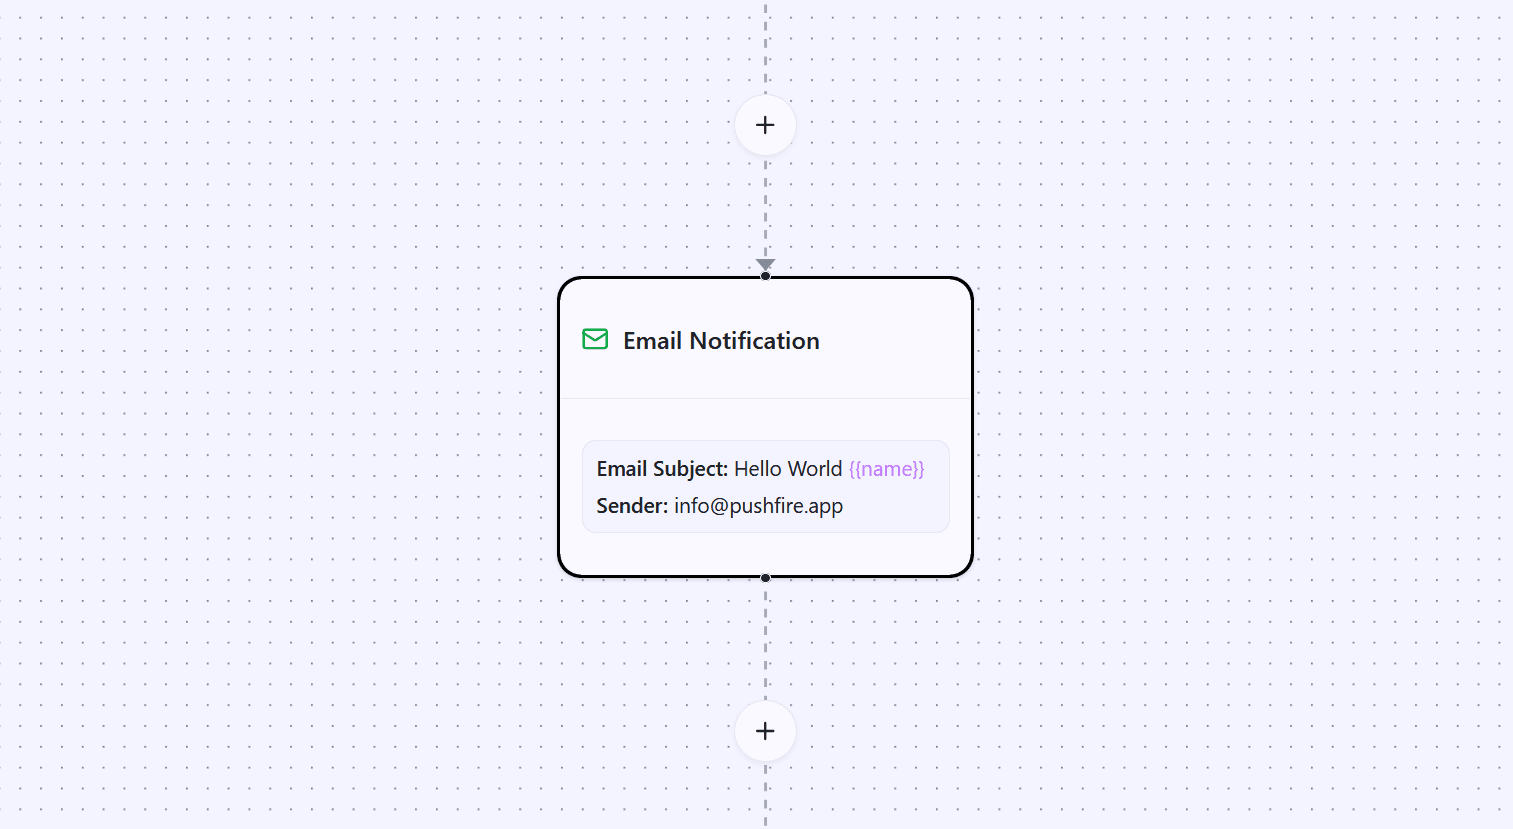
The Email Notification Node lets you send personalized emails to your subscribers as part of your workflows. Each email can have its own subject, full HTML body, and sender, enabling you to create unique and highly relevant communication experiences.
Unlike push notifications, which are more immediate, emails allow you to communicate longer messages, include images and links, and deliver richer visual experiences. They are ideal for important communications, educational content, detailed confirmations, and any message that requires additional context.
Why Emails Still Matter
Despite the popularity of push notifications and other modern channels, email remains a cornerstone of any communication strategy. It offers consistent open rates, supports more extensive content, and subscribers are already accustomed to receiving and managing emails.
Emails also have stronger persistence. While a push notification may disappear, an email stays in the inbox until the subscriber reads or deletes it. This makes email ideal for important information that subscribers may need to reference later.
Email System Components
To use the Email Notification Node effectively, it’s important to understand the email system components in PushFire:
Verified Domain
Your domain is the foundation of your email system. It’s the domain from which all your emails are sent. You must own this domain and verify it through DNS records. Domain verification is critical to prove ownership and significantly improve email deliverability.
Senders
Senders are specific email addresses associated with your verified domain. When you configure a sender, you define the email address that appears as the sender in outgoing emails. You can create multiple senders for different purposes, such as hello@yourdomain.com for general communications or support@yourdomain.com for customer support.
Layout (Template)
The layout is the visual template applied to all your emails. It consists of a header and a footer that wrap the specific content of each email. This ensures visual consistency across all communications while allowing you to customize the core message of each email.
Email Node
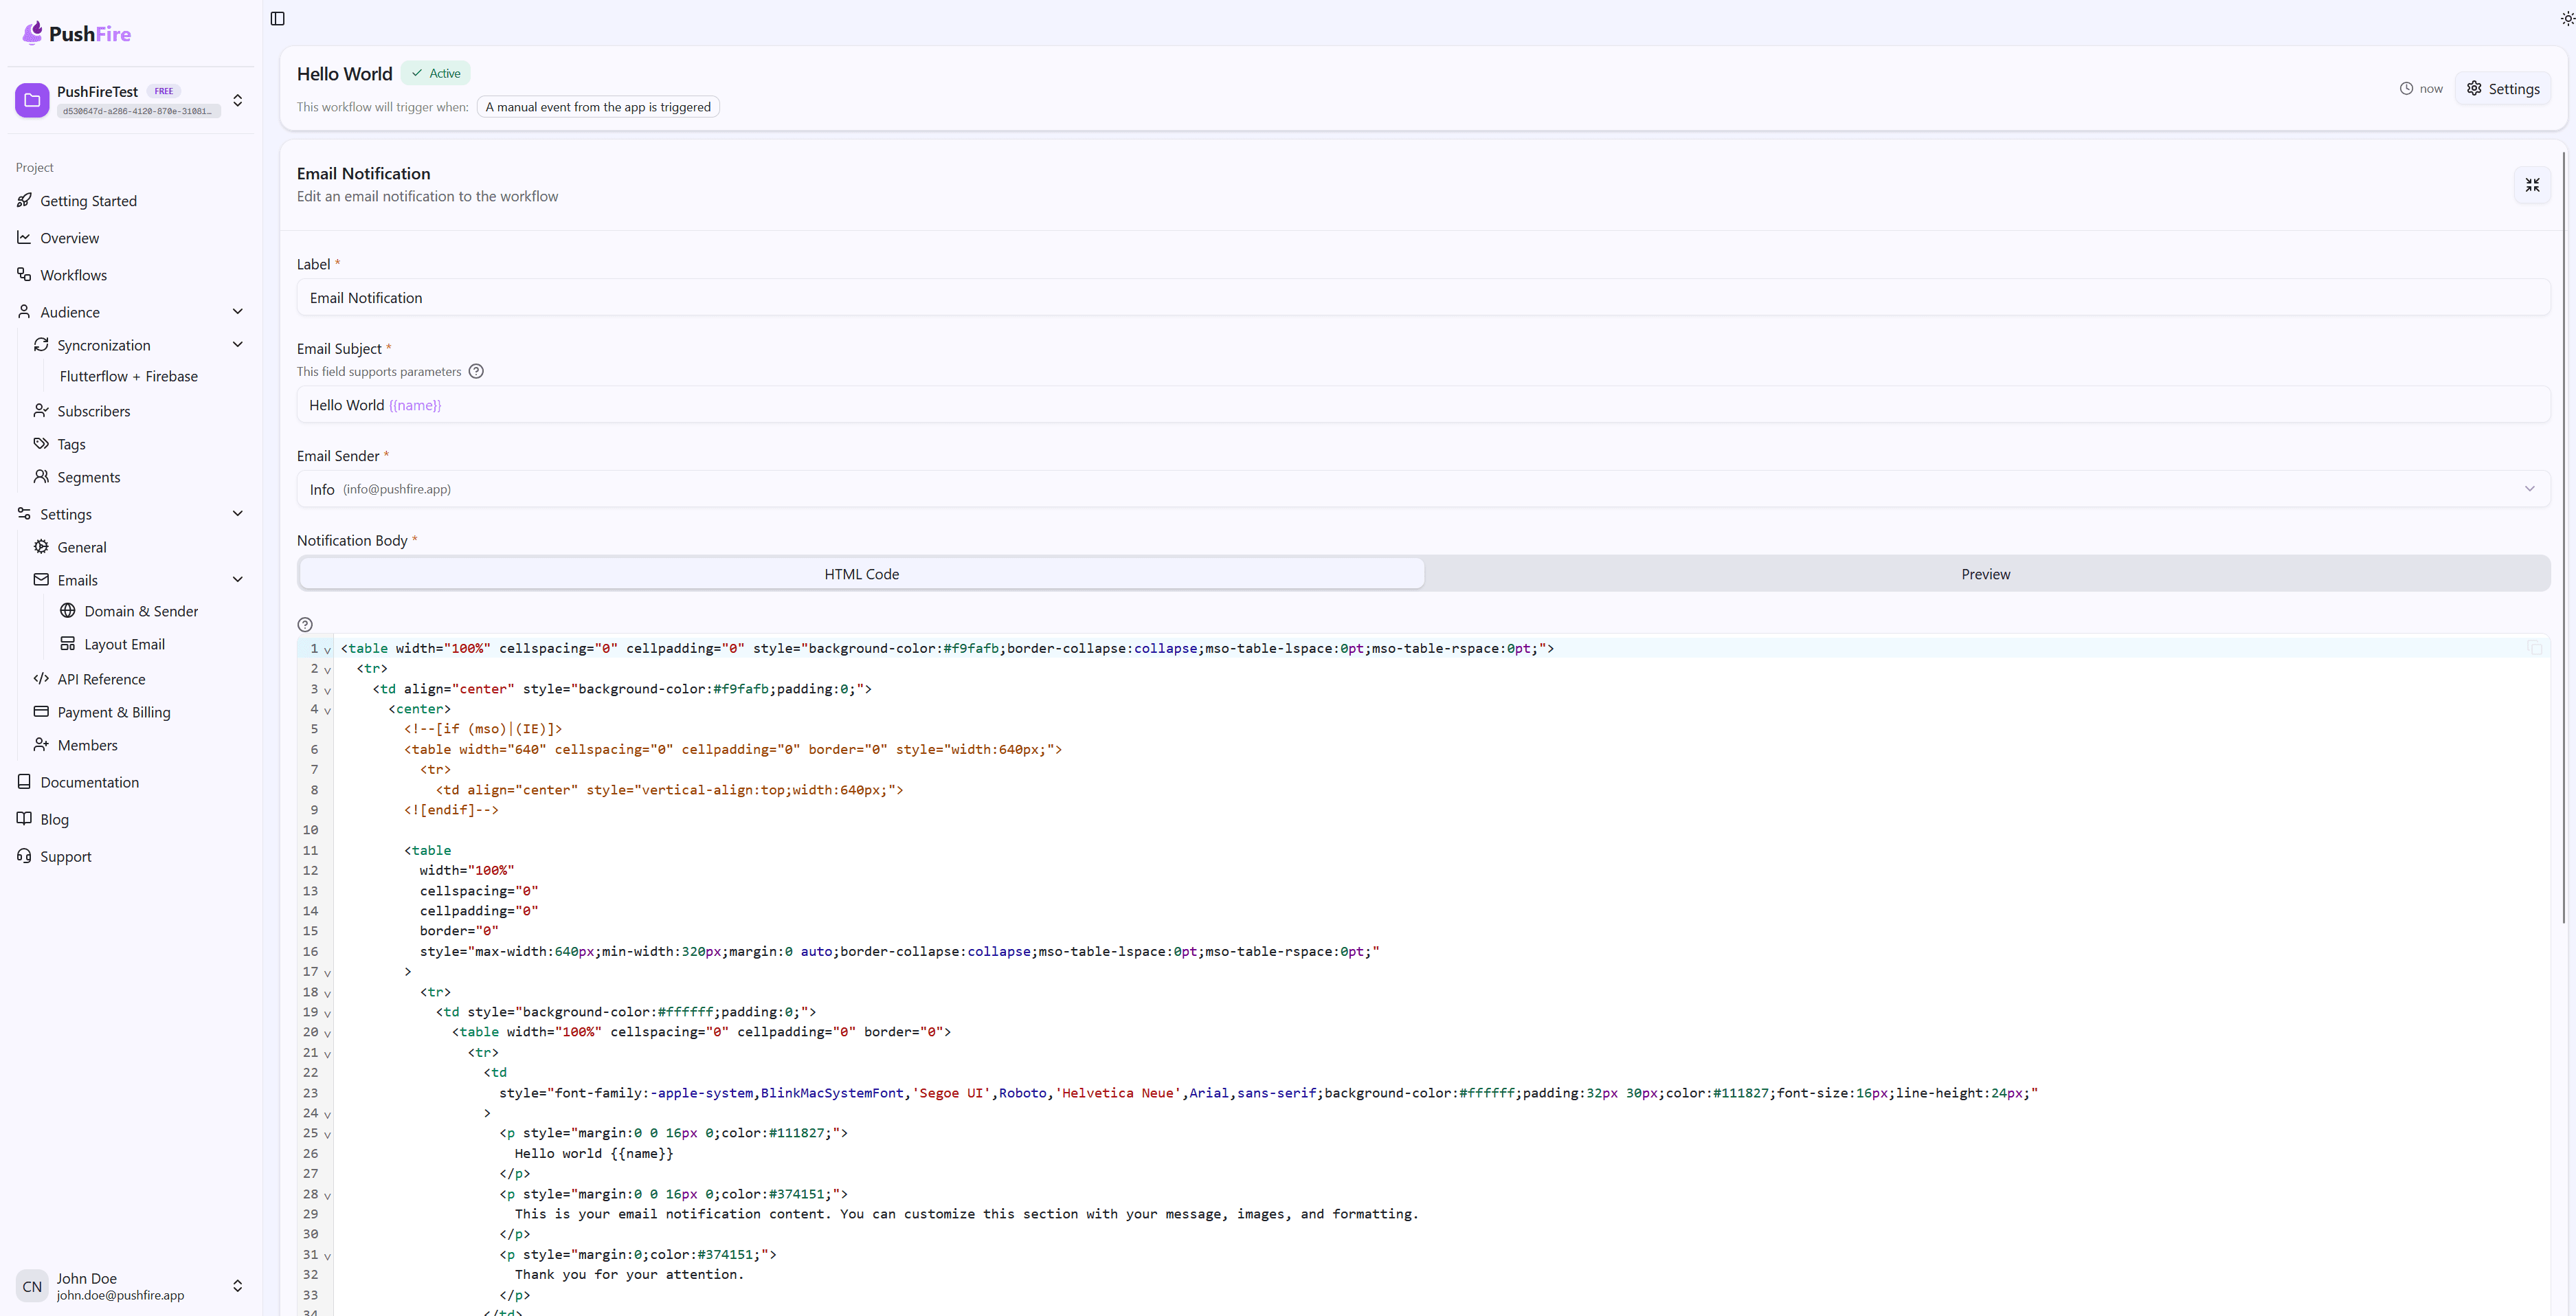
The Email Node is where you define the content of each individual email. Here you configure the subject, message body, and select which sender to use. The content you define is inserted between the header and footer of your layout to generate the final email.

Required Setup
Before using the Email Notification Node, you must complete a few setup steps:
First, you need to verify a domain. This process involves adding DNS records to confirm ownership and authorize PushFire to send emails on your behalf.
Second, you must create at least one sender. Once your domain is verified, you can create the email addresses that will be used as senders.
Third, you can optionally configure a custom layout. While not mandatory, a well-designed layout significantly improves the professional appearance of your emails.
Once these components are in place, you can start using the Email Notification Node in your workflows.
Personalization with Dynamic Parameters
One of the most powerful features of the Email Notification Node is the ability to personalize content using dynamic parameters. These parameters are automatically replaced with subscriber-specific data when the email is sent.
You can use the subscriber’s name, email, phone number, or any custom value stored in their metadata. This allows you to create emails that feel personal and relevant, even when sending to thousands of subscribers.
For example, instead of sending “Hello subscriber,” you can send “Hello {{name}},” which becomes “Hello Juan” for Juan and “Hello María” for María. This level of personalization significantly increases engagement and makes your communications feel more human and less automated.
Common Use Cases
Emails are versatile and can be used in a wide range of scenarios:
Onboarding: Create welcome sequences that guide new subscribers through their first steps with your product or service.
Confirmations: Send detailed confirmations for important actions such as purchases, sign-ups, or configuration changes.
Educational Content: Share guides, tutorials, and resources that help subscribers get more value from your product.
Updates: Keep subscribers informed about new features, updates, or important changes.
Re-engagement: Design campaigns to bring inactive subscribers back with relevant content and special offers.
Next Steps
To start using the Email Notification Node, you first need to configure your domain. The Domain Configuration documentation will guide you through the entire verification process, from domain creation to setting up the required DNS records.
Once your domain is verified, you can configure your senders and optionally create a custom layout. After that, you’ll be ready to add Email Notification Nodes to your workflows and start sending professional, personalized emails.
Related Guides
Continue learning with these related guides