Condition Node
The Condition Node is where personalization truly comes to life. This node allows you to build workflows that intelligently adapt to each subscriber, delivering the right message to the right person at the right time.
What Is the Condition Node?
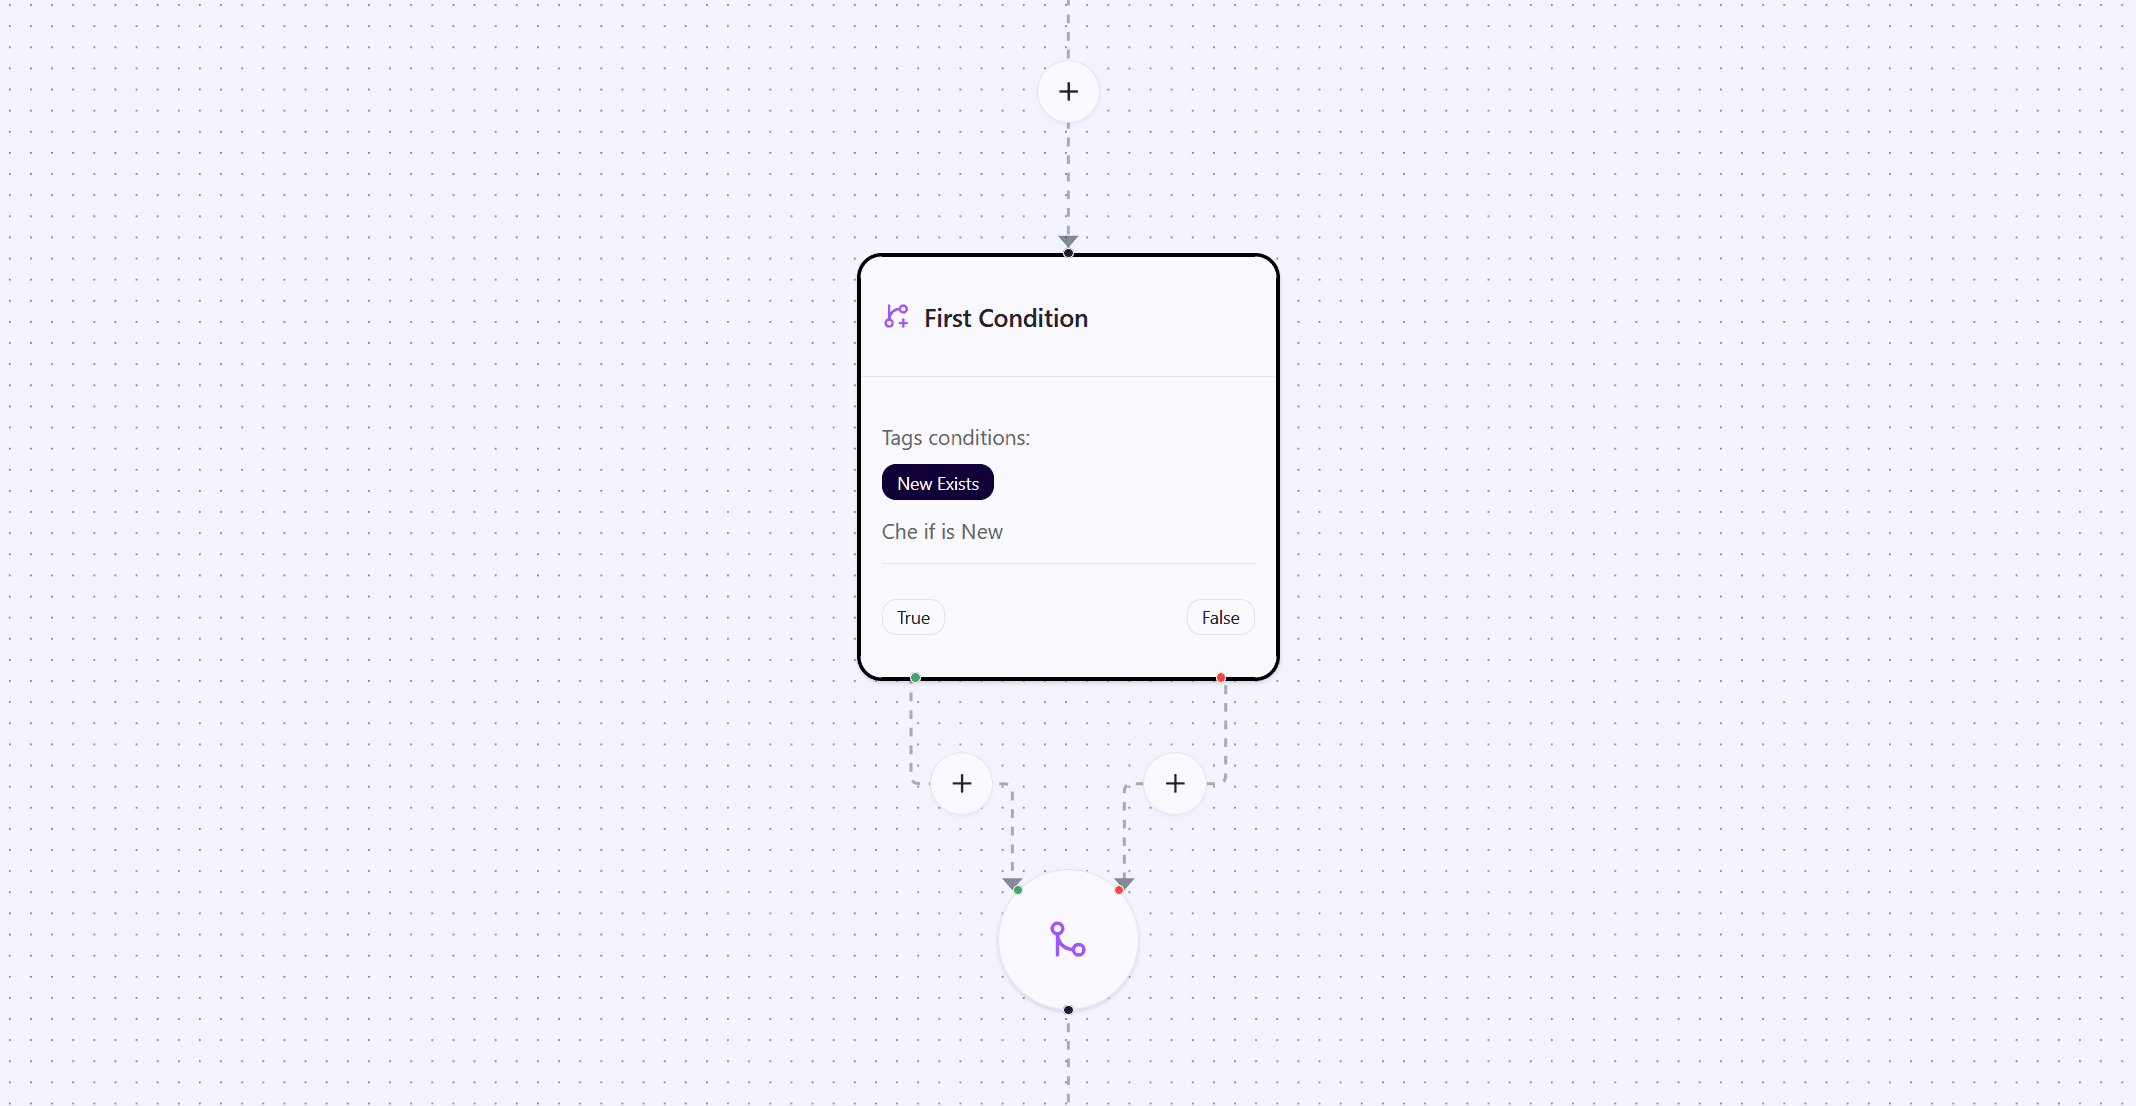
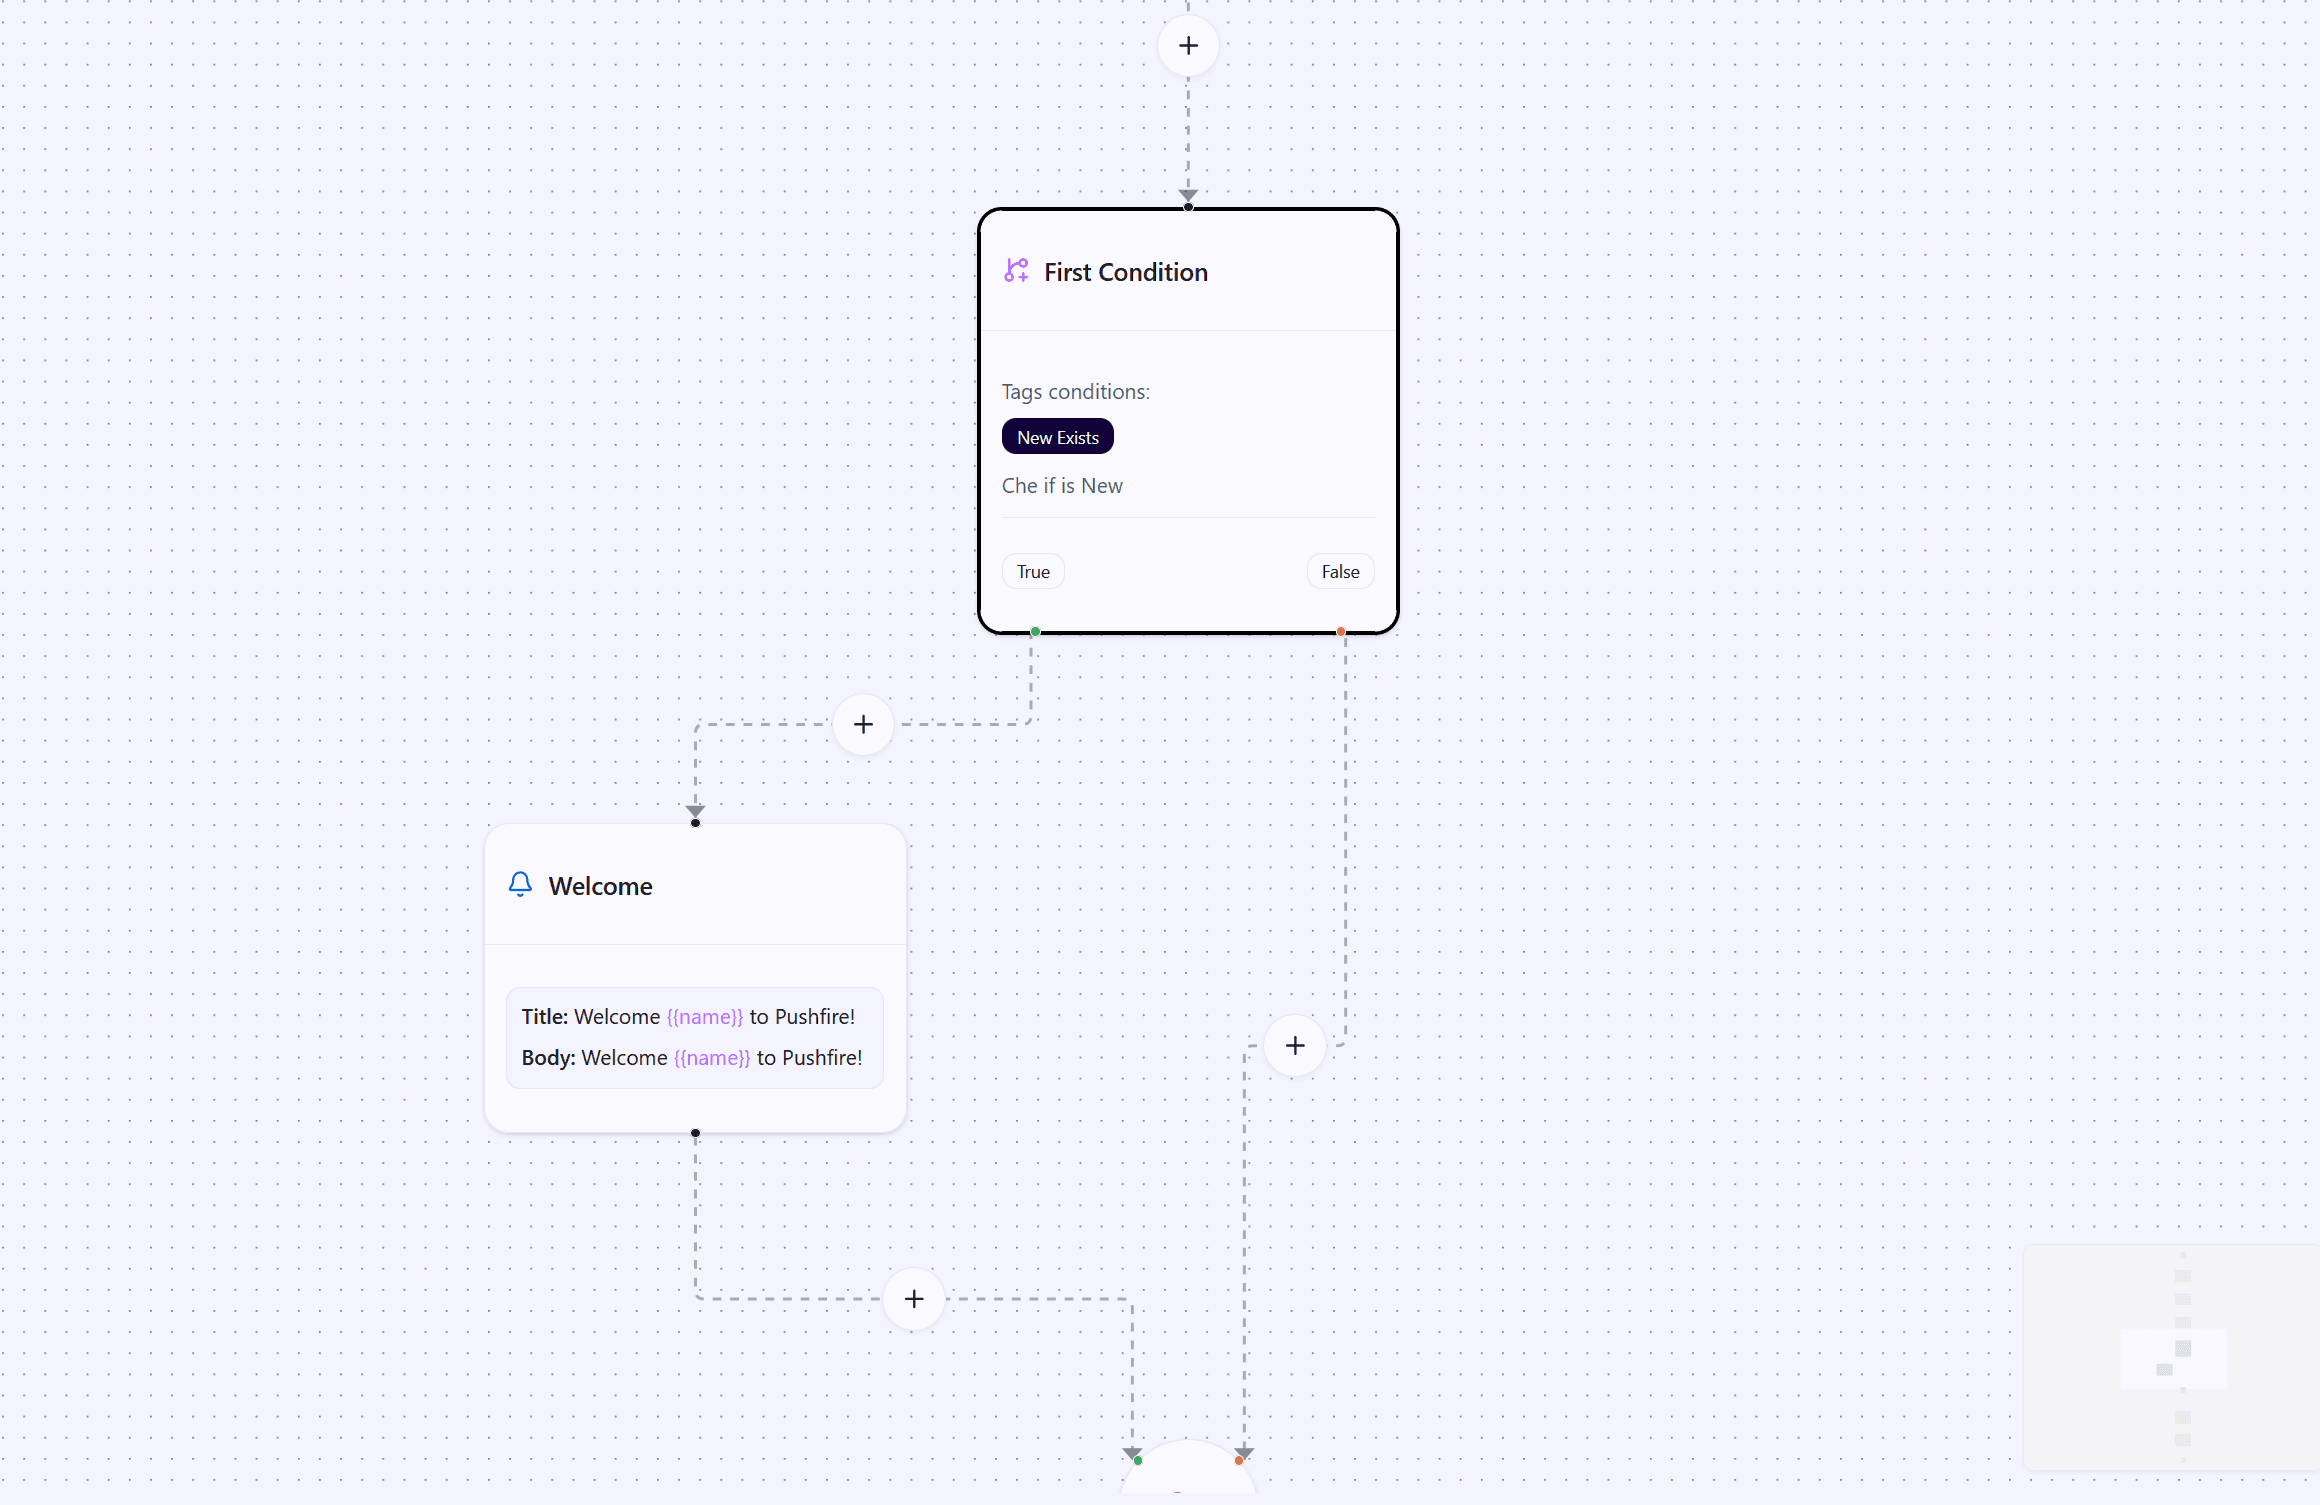
A Condition Node evaluates conditions on your subscribers and splits the workflow into two different paths. It’s like a crossroads where each subscriber takes the path that best matches their characteristics, behavior, or current state.
Think of a Condition Node as a smart assistant that decides what to do based on what it knows about the subscriber. Is the subscriber on a premium plan? Send them exclusive content. Are they new? Route them through onboarding. Are they inactive? Trigger a re-engagement flow.
How It Works
When a workflow reaches a Condition Node, it evaluates the configured conditions. If the conditions are met, the flow continues through the True path. If they’re not met, it continues through the False path.
Each path can lead to completely different actions. This lets you create highly personalized experiences without maintaining separate workflows for each subscriber type.
Types of Conditions
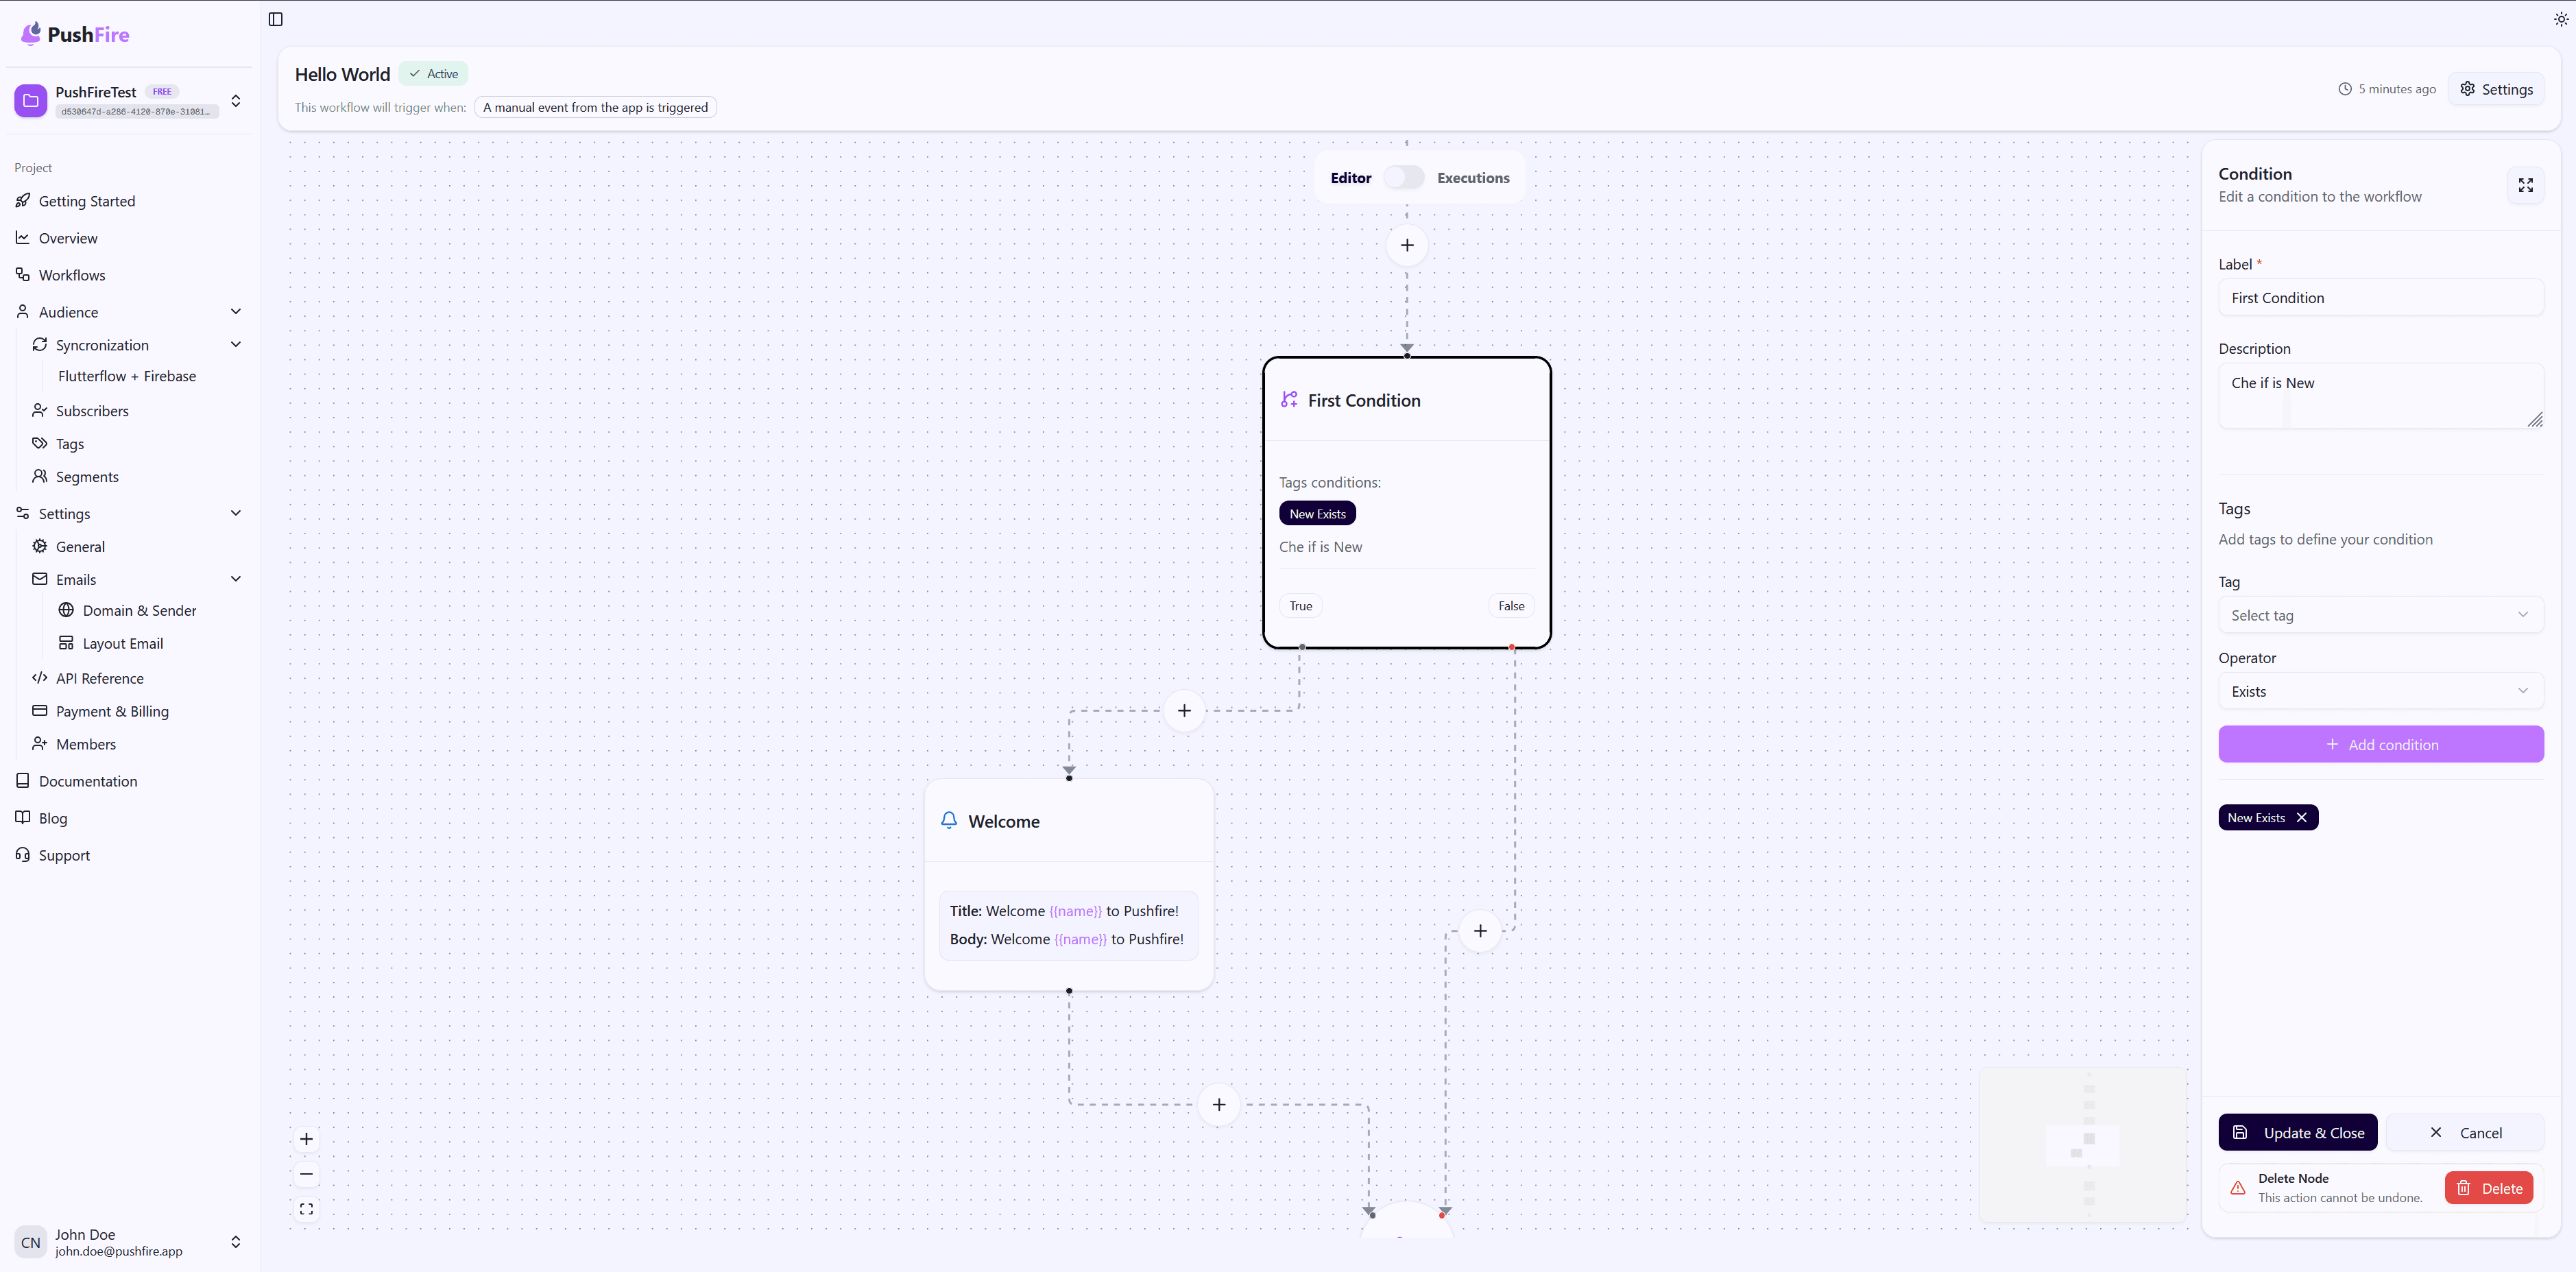
Tag-Based Conditions
Tags are labels you assign to subscribers to categorize them. With tag-based conditions, you can check whether a subscriber has specific tags with specific values.
For example, you might check whether a subscriber has the tag plan set to premium. If true, you send exclusive content. If not, you send standard content.
You can use different operators to define precise conditions:
- Equals: Checks whether the tag exactly matches the specified value.
- Not equals: Checks whether the tag has a different value.
- Greater than / Less than: Useful for numeric tags like scores or counters.
- Greater than or equal / Less than or equal: Similar to the above, but including the boundary value.
You can add multiple tag conditions. When you do, all conditions must be met for the result to be True. This enables complex rules like “premium subscriber AND active AND more than 100 points.”
Configuring Your Condition Node
Descriptive Label
Use a label that clearly explains what you’re checking. For example, “Check Premium Plan” is far clearer than simply “Condition.”
Adding Conditions
For each condition, select the tag to evaluate, choose the appropriate operator, and specify the expected value if required.
Remember: when you add multiple conditions, they all must be satisfied. If you need OR logic (where only one condition must be true), use multiple Condition Nodes.
Description
Add a description explaining which conditions are being evaluated and why. This helps document your workflow logic and improves maintainability.
Automatic Branch Connections
When you add a Condition Node to your workflow, PushFire automatically creates a Join Node and configures both branches.
The True branch (left) is used when conditions are met, and the False branch (right) is used when they aren’t.
The system ensures both branches are correctly connected and converge at the Join Node, keeping the workflow as a valid graph. You don’t need to wire branches manually—everything is handled for you.
As you add nodes to each branch, PushFire automatically connects them to the correct branch and back to the Join Node, preserving flow integrity.
Common Use Cases
Plan-Based Segmentation
Send different content depending on the subscriber’s plan. Premium subscribers receive exclusive content, while basic subscribers receive standard messaging.
Active Subscriber Filtering
Only send notifications to active subscribers. If a subscriber is inactive, you avoid wasting resources on messages they’re unlikely to see.
Behavior-Based Personalization
Route subscribers to different paths based on engagement. Highly engaged subscribers get invited to advanced features, while new subscribers receive basic guidance.
Personalized Offers
Create special offers for specific subscribers. Check multiple conditions—such as plan, loyalty points, and activity status—before sending an exclusive promotion.
Best Practices
Keep Conditions Clear
Use clear, descriptive tag names. This makes conditions easier to understand and maintain.
Use Consistent Values
Ensure tag values are consistent. If you use premium in one place, don’t use Premium elsewhere. Conditions are case-sensitive, so consistency matters.
Test Both Branches
Always test both the True and False branches. Use test subscribers who do and don’t meet the conditions to verify the flow behaves correctly.
Document the Logic
Explain why you’re evaluating specific conditions. This helps your team understand the strategy behind the workflow.
Avoid Overly Complex Conditions
If you find yourself checking too many conditions at once, consider splitting the logic into multiple simpler Condition Nodes. This makes workflows easier to read and maintain.
Troubleshooting
If your Condition Node always evaluates to False, verify that the tags exist and are correctly assigned to subscribers. Make sure values match exactly, including letter casing.
If it always evaluates to True, review the condition setup. Ensure operators are correct and values aren’t too permissive.
Remember: when using multiple conditions, all must be met. If you need OR logic, you’ll need multiple Condition Nodes or a different structure.